This walk through is for anyone who has a BMW E46 with a tail light warning on the dashboard when, however there are no burned out bulbs. BMW has issued a recall to fix their tail light fault free of charge, but this was in 2011, and limited number of models in USA. This walk through are for those who found out about the problem now and would like to do this easy and cheap repair. This was done on a 2004 BMW 316i with 68k miles experiencing the intermittent tail lamp out indicator on the dash.
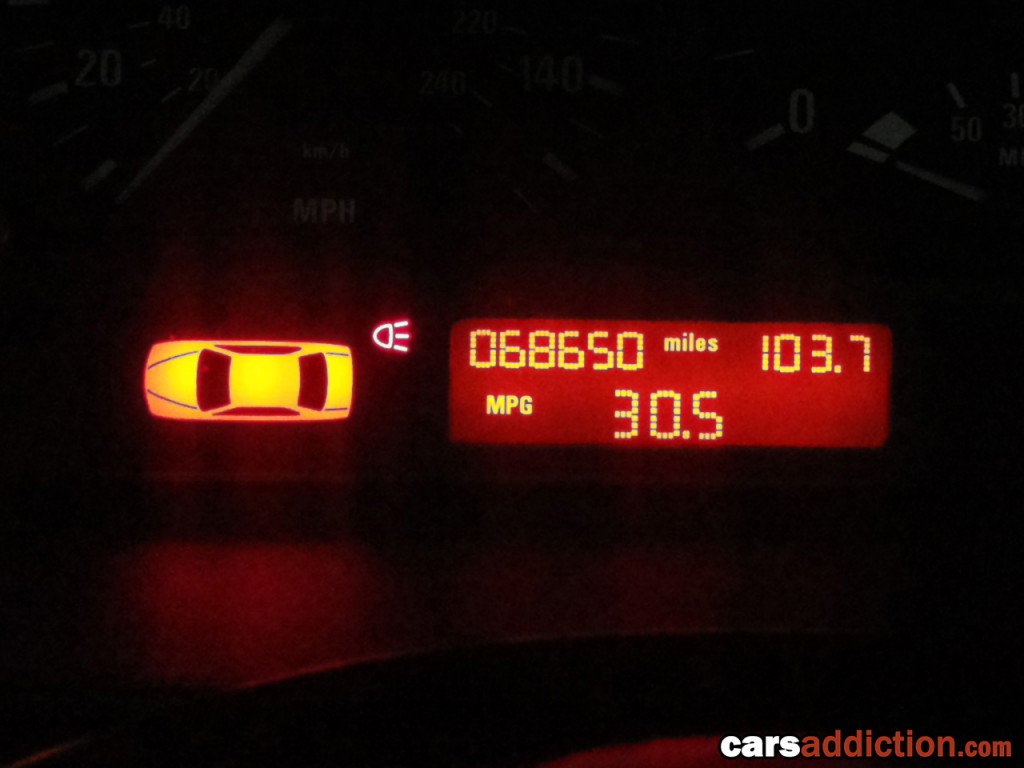
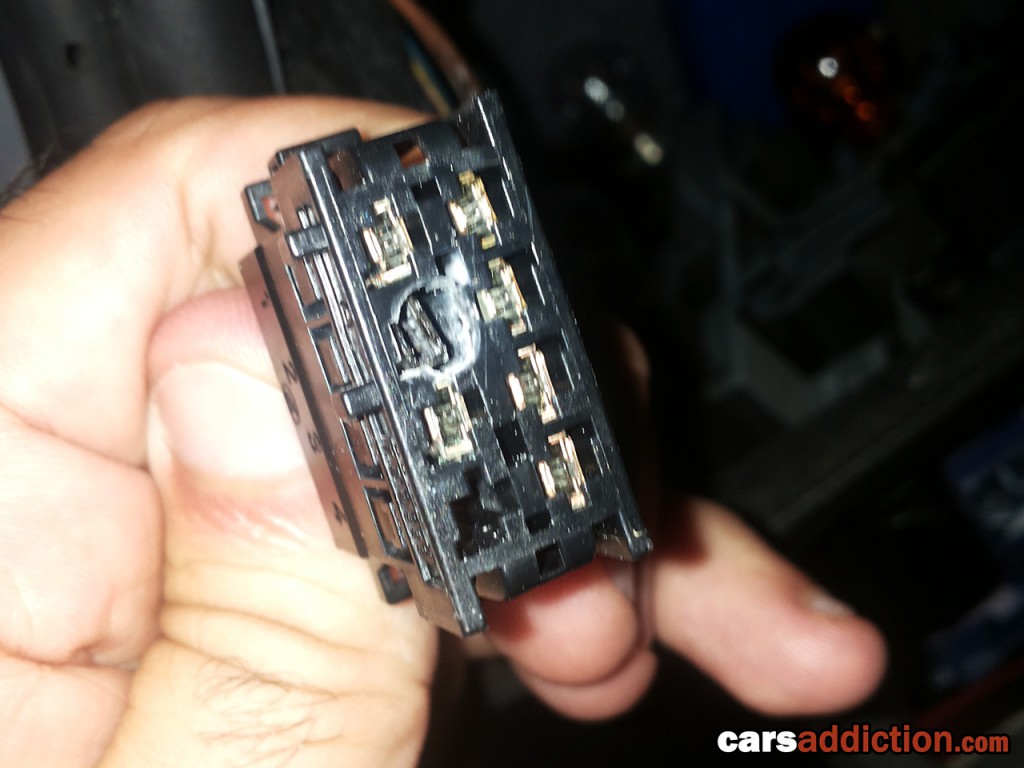
The problem occurs because the ground on the connector is not wide enough for the current load, hence why the wire gets really hot and melts the housing creating a lose contact and showing the intermittent tail lamp out indicator on the dash. If the connector clip (see step 3) is badly damaged you would also have to replace this and would need the following parts:
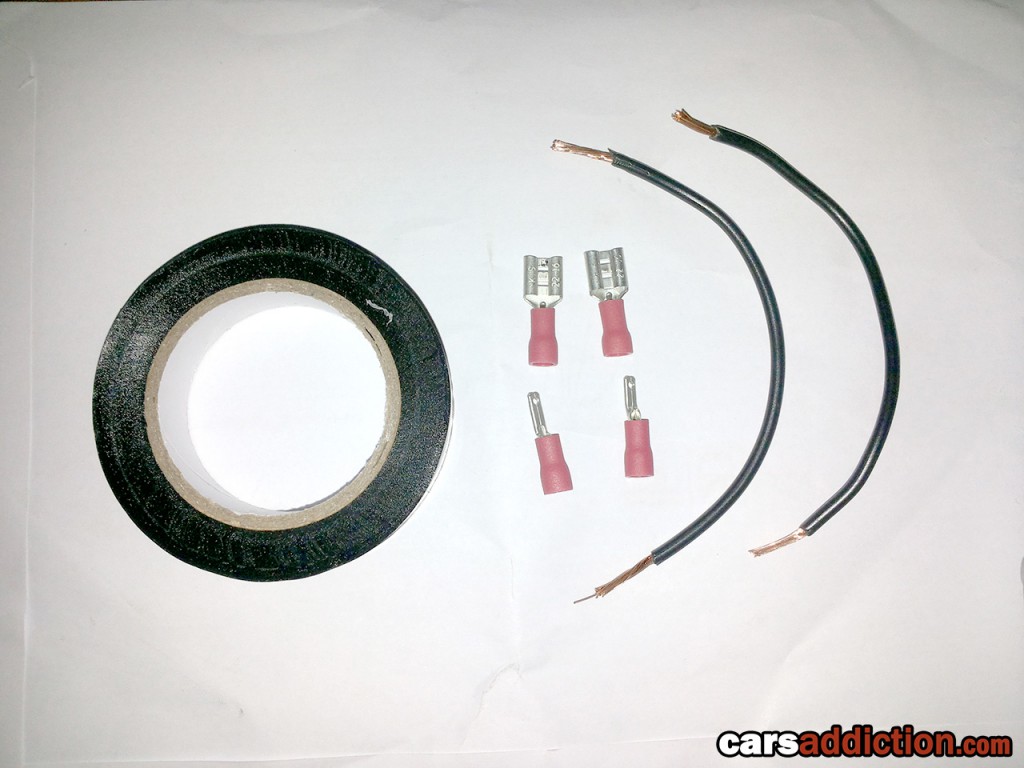
What you need:
1) Open the boot (trunk) of your E46 and on eachside locate the back of the bulb holder unit (were the light is).
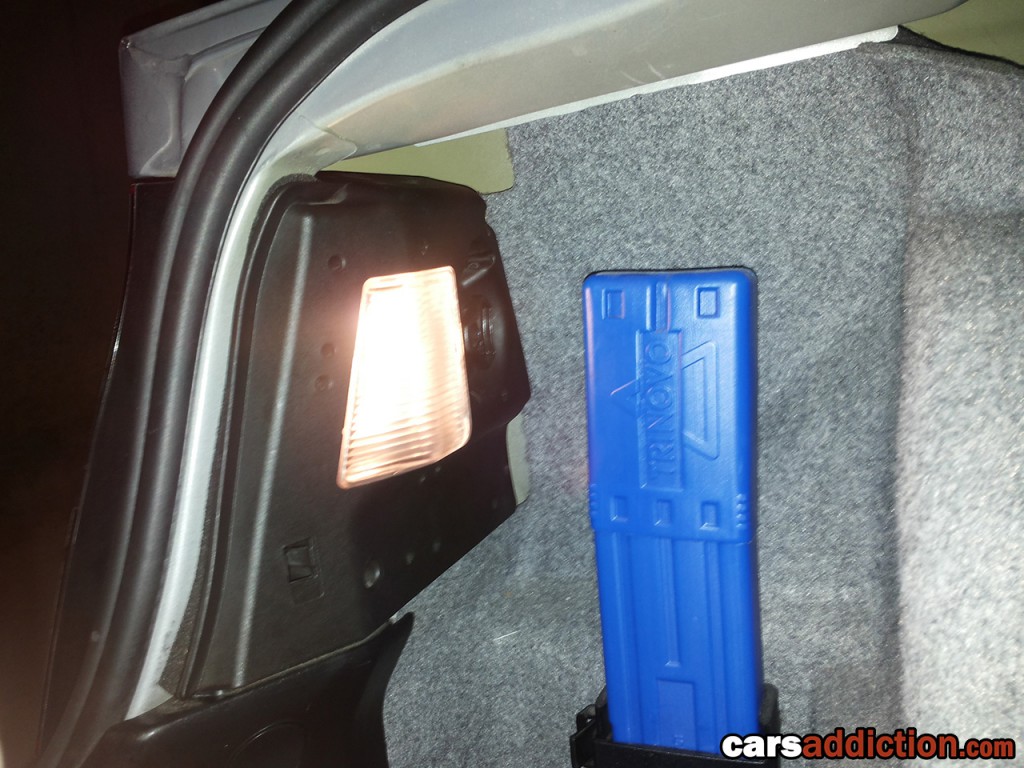
2) Unscrew the large plastic screw anti-clockwise and pull out the holder by hand.
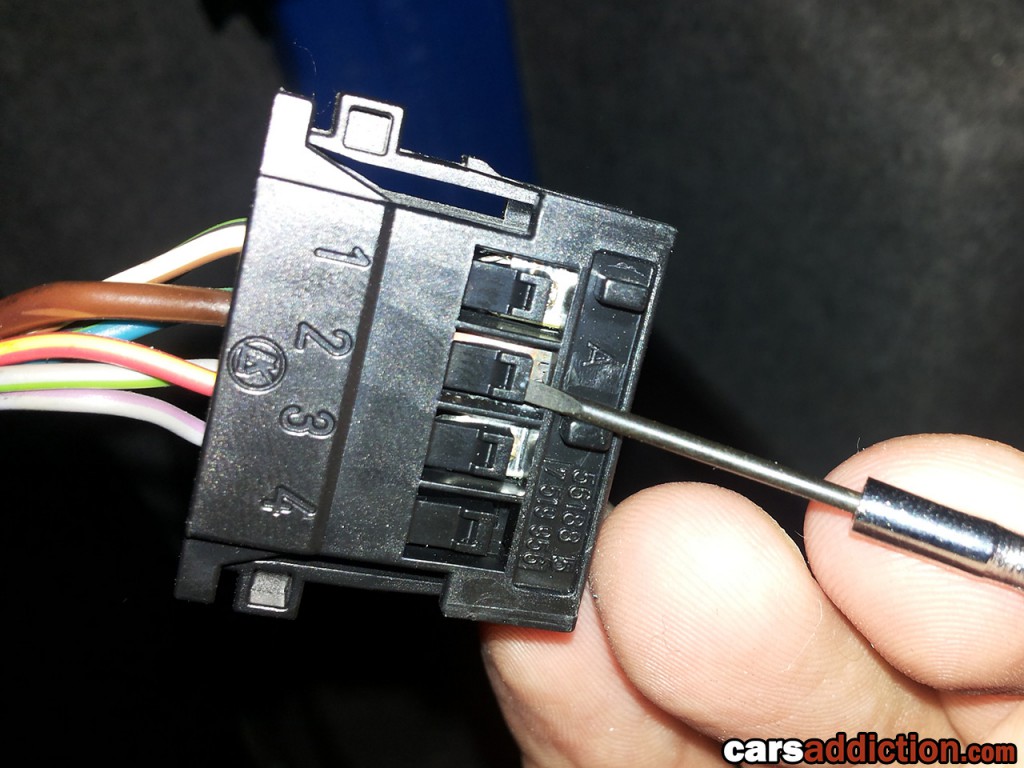
3) Remove the connector plug by pinching the ends and pulling the connector away from the bulb holder unit. This is the source of the problem, the brown wire (ground) terminal is too thin to support the current flowing through. This causes resistance and heat build up, melting the connector.
4) Prepare the home made connecting wires using a similar thickness wire of about 10mm long. Strip both ends of the wire and crimp a female and male connector to each end.
5) Remove the brown wire from the oem connector by lifting the tab and tugging the wire outwards.
Note the width of the new connector on the right which will now be connected into its new location indicated in the next step.
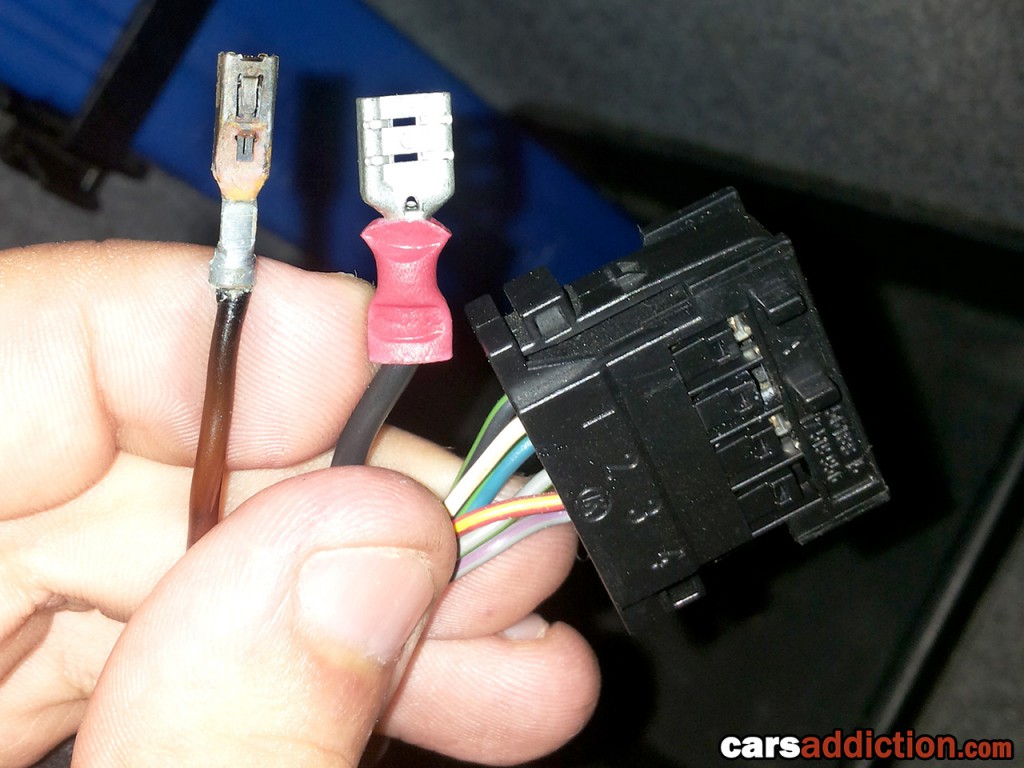
6) Connect the home made wire to the brown wire and onto the new location indicated in the photo. Thus eliminating the ground from going into the original connector.
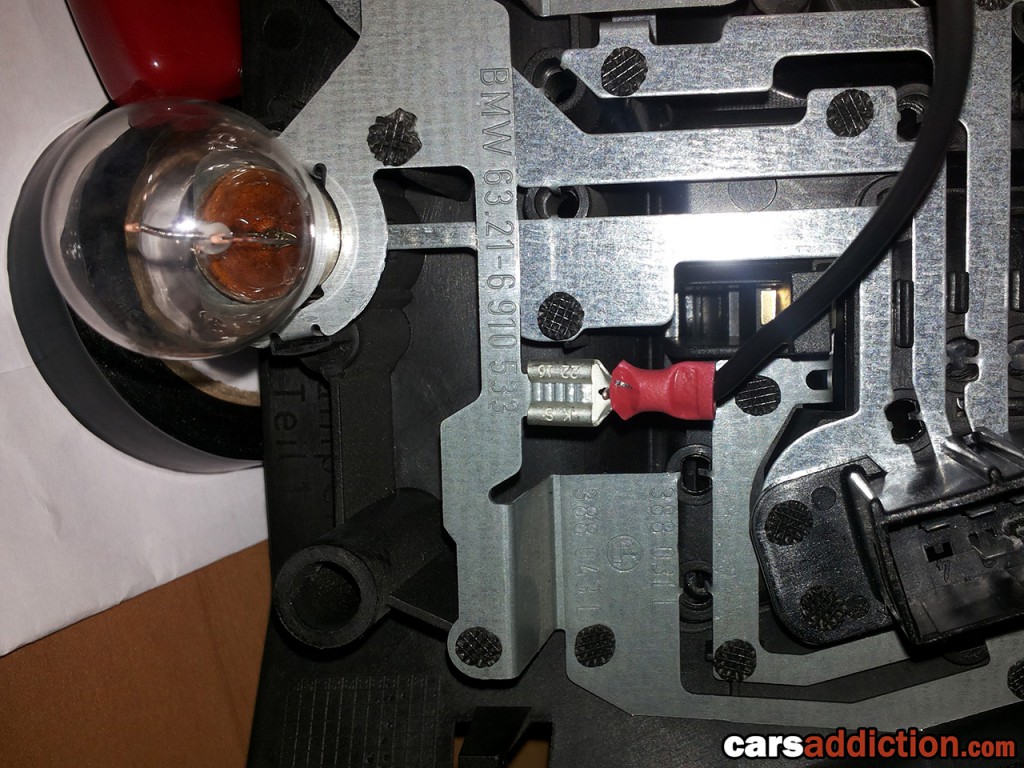
Note: If your terminal is heavily corroded, the best option is to cut the corroded connector off the wire and use join it with your new one.
7) Insulate the join with electrical tape.
8) Reconnect the electrical plug and secure the bulb holder back into position.
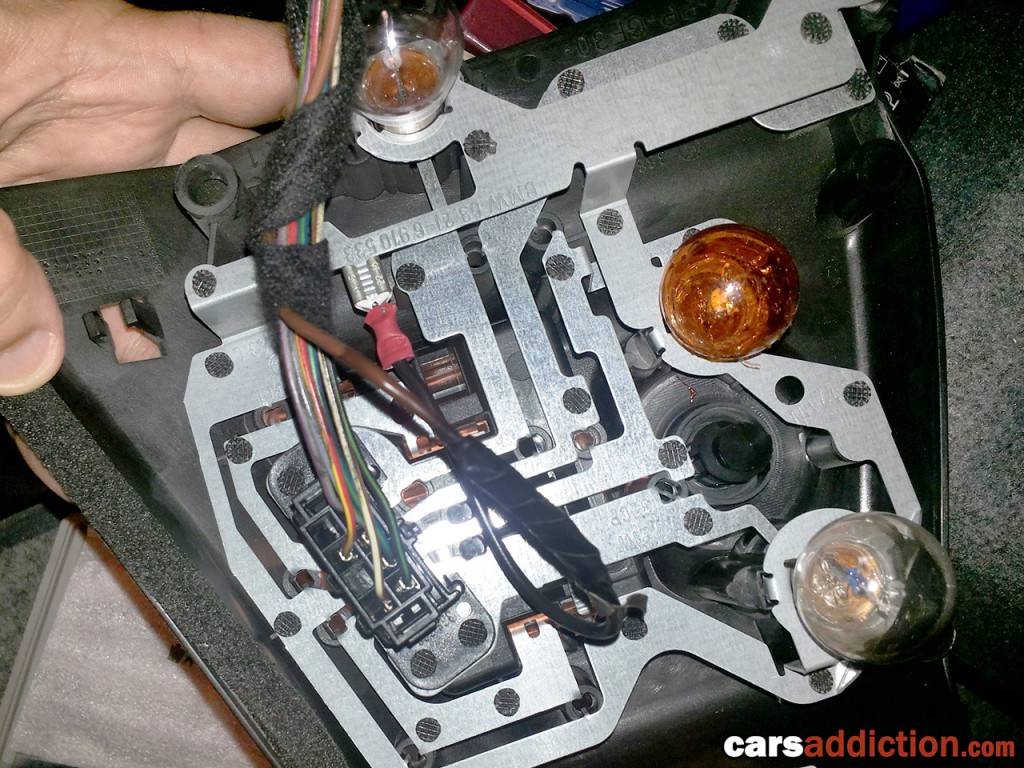
9) Repeat for the other side.
10) Done. The rear bulb failure warning light will now reset on its own and stopping it from displaying false alarms.
Use code carsaddiction for 20% off!